Topaz Studio 2: Introduction and Workflow for Beginners
introduction and workflow tutorial -> | Introduction |
01 |
02|
03 |
04 |
05 |
06 |
07 |
08 |
09 |
10 |
| digital painting examples |
resources |
about |
impressionist painters
| contact-questions |
Part 7: The Impression Filter & Creating/Saving a Preset (Look)
The Impression filter is one key to achieving a brush stroke impressionist-type image. This section focuses on how to adjust the impression sliders for an impressionist look and also how to create and save a preset that is a better start than the impression filter that comes up when you select it.
Open Topaz Studio load the tigerlily image (it will be important for you to use that image so that you can tell whether you're achieving the same effect as I have.
If you open TS and you already have a different image loaded, TS will prompt you as to whether you want to save that image and whatever image/effect it's showing. Click yes if you want to save it and then direct it to a folder. Click no if you don't.
Now add the tigerlily image, click on "Add Filter," opne the "Stylistic" set and select "Impression". This will likely produce an effect that you can use as a starting point, but one that's unlikely to be desirable as a finishing point. You've loaded and seen this effect in the previous Part 6 where you've explored the impression sliders.
Next, copy my impression brush and slider settings as shown below. note that some sliders won't show up, e.g. paint volume, until you change some others.
 |
 |
At this point, I have a setting for impression that I think is a somewhat better starting point than that of the original impression filter. So I'ved decided to save it as a preset that will show up in the preset Look Category "My Looks". To do this I click on the button in the upper right of the preset right-hand column.

This brings up the "Save Look" window shown below. I've typed in "impressionfilter.adj1" to indicate that my preset is an adjustment of the impression filter.

Give it a name and click "OK" to save it as one of your presets. Then test your success by clicking on "Add Look" and selecting the "My Look" category. Here's what I got when I did that:
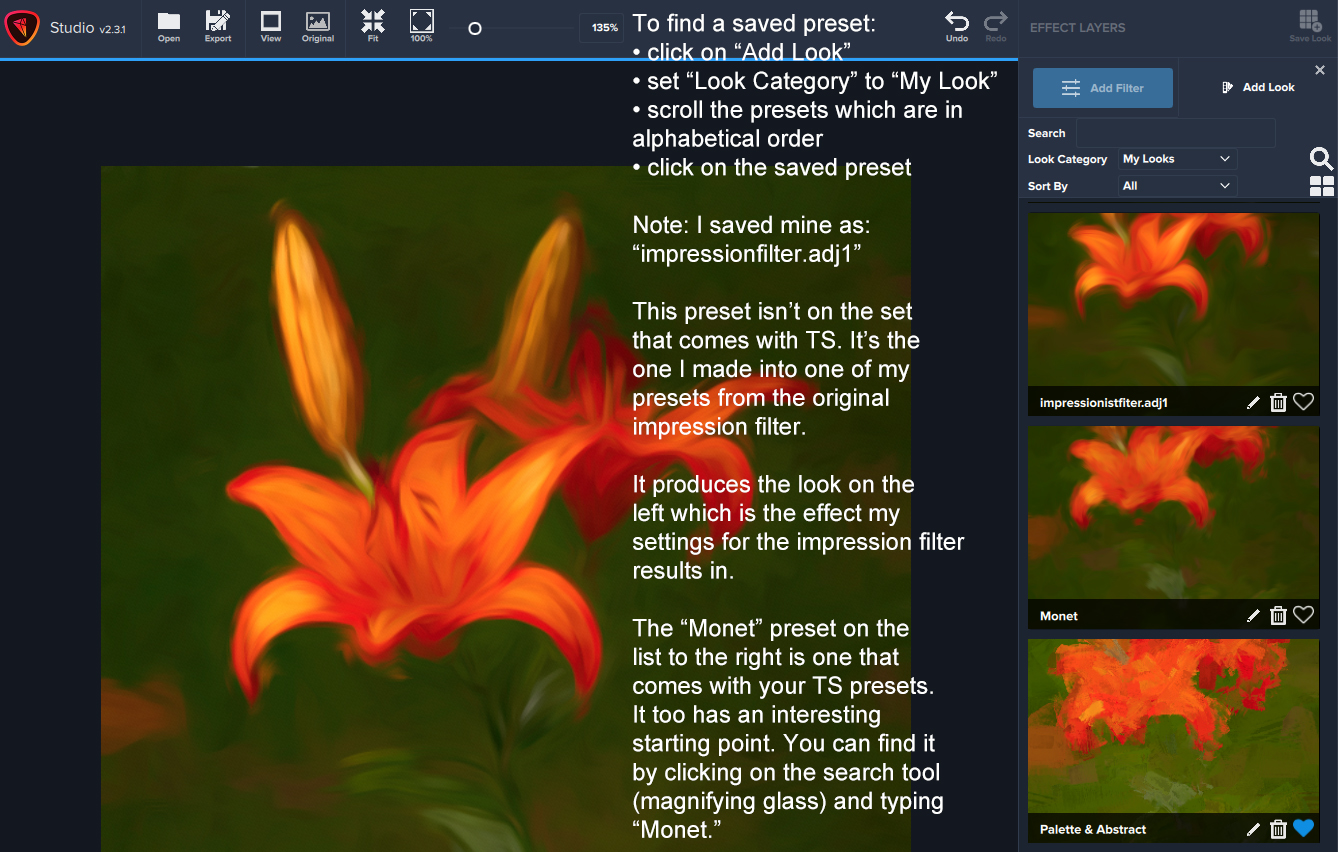
At this point, I have an image that looks a bit more like it was drawn or painted. But it's still not a look that I want.
In the next section, we'll explore what you might try next.